
How to Clean Coffee Maker: The 2026 Guide to Better-Tasting Brews
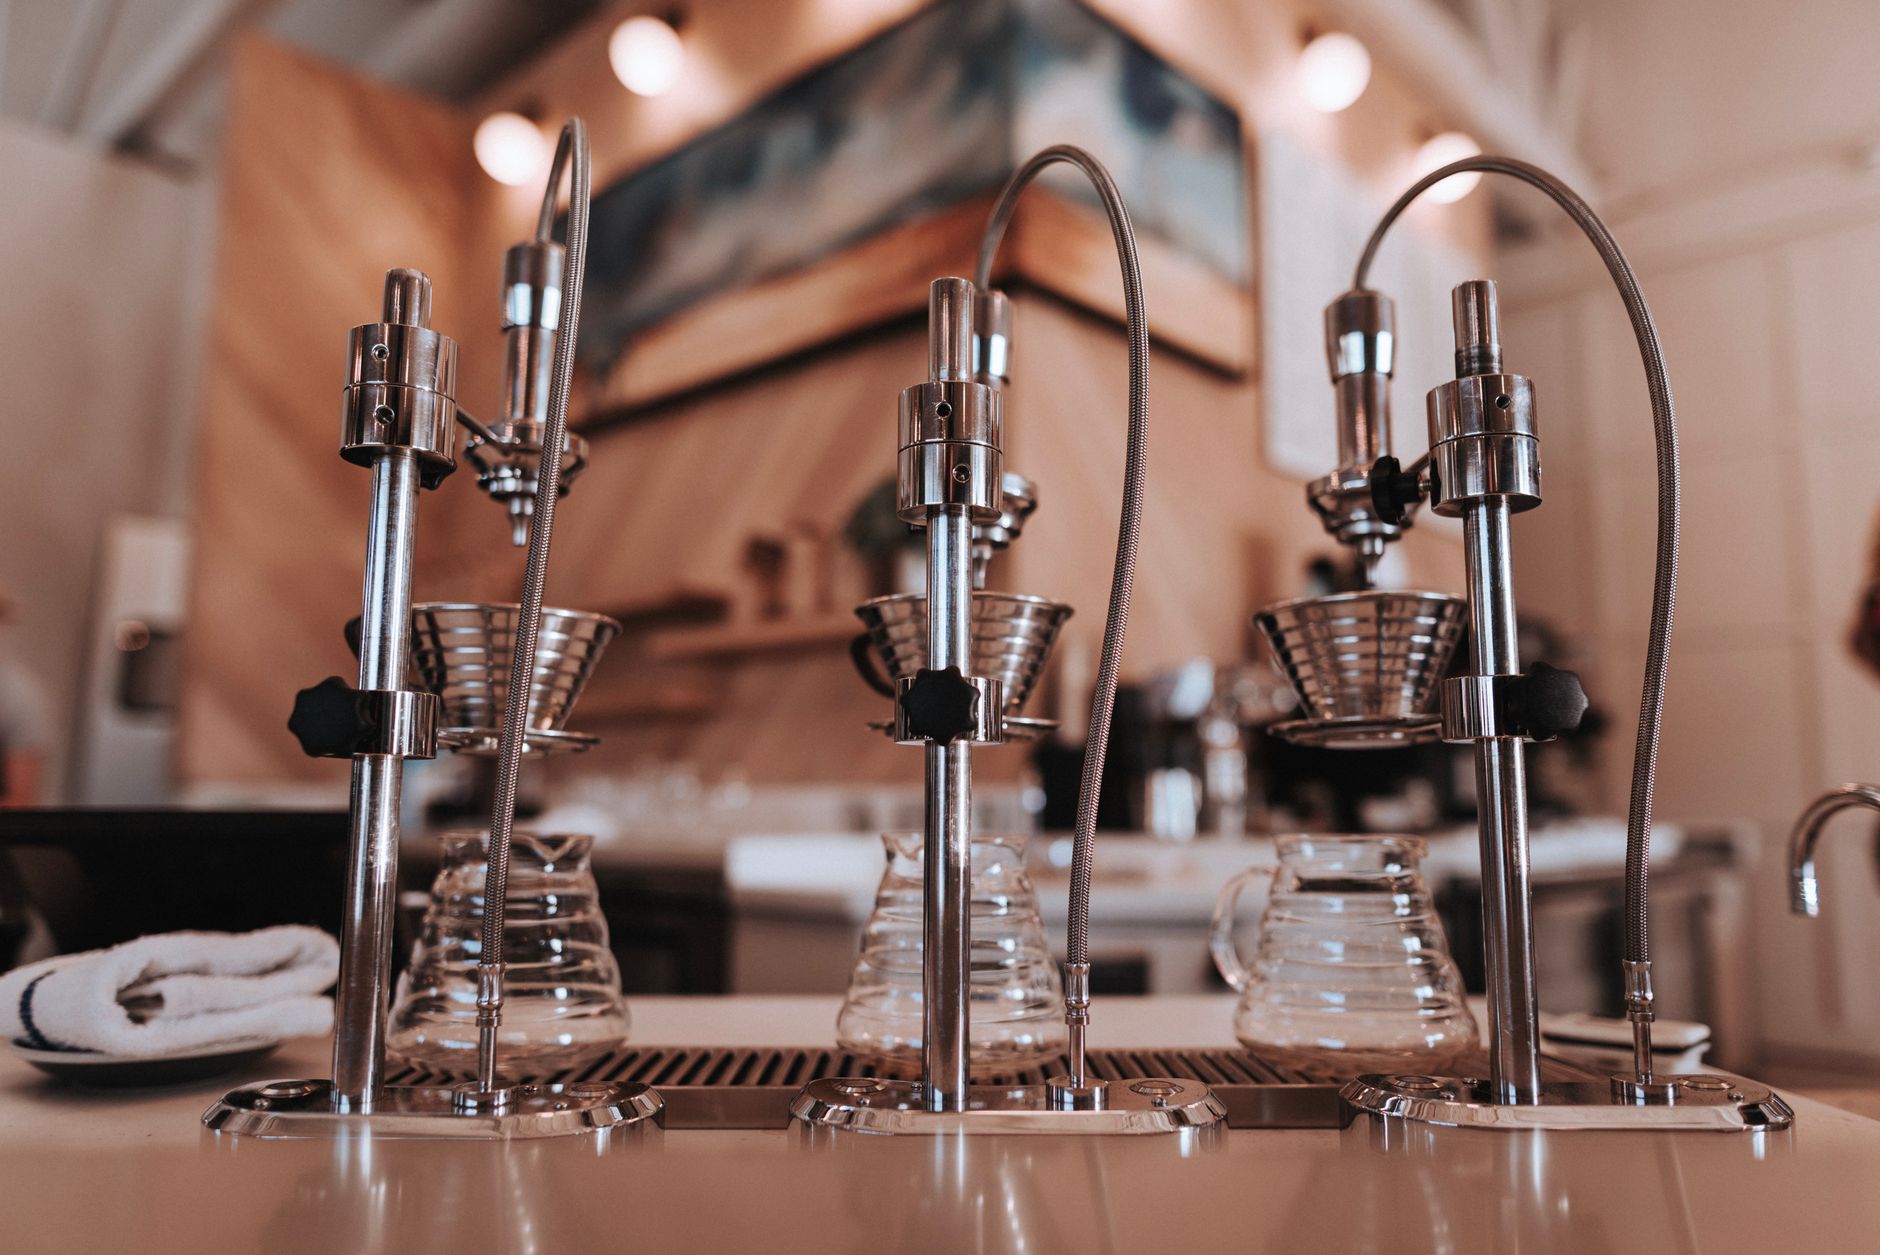
With the third-wave coffee movement still surging and premium single-origin beans costing upwards of $25 per bag in 2026, the last thing you want is a dirty machine ruining your morning ritual. Yet according to recent NSF International studies, coffee reservoirs rank among the top five germiest places in the home—often harboring more bacteria than your bathroom faucet handles. If you’ve noticed your brew tasting bitter, metallic, or just “off” lately, learning how to clean coffee maker properly is the single most impactful thing you can do for your daily cup.
Whether you’re rocking a classic drip machine, a sleek espresso setup, or a single-serve pod system, mineral buildup and coffee oil residue accumulate faster than most people realize. This guide breaks down exactly how to tackle each component, how often to clean based on your water hardness, and which household ingredients actually work (versus which ones might damage your machine).
Why Your Coffee Tastes Bitter (And It’s Not the Beans)
Before diving into the how-to, let’s talk about the why. Coffee contains natural oils that, while delicious when fresh, turn rancid when left sitting in your carafe or filter basket. Meanwhile, your water—especially if you live in a hard water area—deposits calcium and magnesium scale inside the heating element and water lines.
This creates a double-whammy of flavor destruction:
- Rancid oils coat the carafe and brew basket, imparting a stale, cardboard-like taste
- Mineral scale insulates the heating element, preventing water from reaching optimal brewing temperature (195-205°F), resulting in sour, under-extracted coffee
- Mold and yeast can colonize the water reservoir within 48 hours if left damp, adding musty off-flavors
The good news? You don’t need expensive specialty cleaners. White vinegar, baking soda, and citric acid handle 95% of coffee maker cleaning tasks effectively.
How to Clean Coffee Maker: The Deep Clean Method
This process works for standard drip coffee makers, which remain the most common household type. Plan for about 45 minutes from start to finish, though most of that is hands-off soaking time.
What you’ll need:
- White vinegar (5% acidity) or citric acid powder
- Fresh water
- Mild dish soap
- Soft bottle brush or sponge
- Microfiber cloth
Step 1: The Vinegar Descale Fill your water reservoir with equal parts white vinegar and water. If you haven’t descaled in over three months, use straight vinegar. Place a paper filter in the basket (to catch loosened debris) and run a full brew cycle. Halfway through, turn off the machine and let the solution sit for 30 minutes to dissolve stubborn scale.
Step 2: The Rinse Cycle Discard the vinegar solution and run two to three full cycles with fresh water only. This is crucial—residual vinegar will ruin your next pot. Sniff the steam; if you detect any vinegar odor, run another rinse cycle.
Step 3: Scrub the Removable Parts While the machine cools, wash the carafe, filter basket, and lid in warm soapy water. For stubborn coffee stains in the carafe, add a tablespoon of baking soda and warm water, let it sit for 15 minutes, then scrub gently. Avoid abrasive pads on glass carafes—they create micro-scratches that harbor bacteria.
Step 4: Wipe the Exterior Don’t neglect the warming plate. Coffee drips bake onto the hot surface, creating burnt smells. Unplug the machine, let it cool completely, then wipe with a damp cloth and a drop of dish soap. Dry thoroughly to prevent rust.
Single-Serve and Pod Machines: Special Considerations
Keurig, Nespresso, and similar pod systems require slightly different tactics because of their internal needles and smaller water pathways. These machines are particularly prone to clogs from coffee grounds and scale.
For Keurig-style brewers: Remove the water reservoir and wash with soapy water weekly. Use a paperclip to gently clear the entrance and exit needles (located under the handle and inside the K-cup holder)—grounds love to hide here. Descale every 3-6 months using the manufacturer’s solution or a 50/50 vinegar mix, running multiple water-only cycles afterward to eliminate aftertaste.
For espresso machines: Backflush with water only after each use if your machine has a three-way solenoid valve. Weekly, use a specialized espresso machine cleaner (like Cafiza) to remove coffee oils from the group head. Soak portafilters and baskets in hot water with a pinch of espresso cleaner overnight monthly.
The Maintenance Schedule That Actually Works
Consistency beats intensity when it comes to coffee maker maintenance. Here’s a realistic schedule based on your usage:
Daily (30 seconds):
- Rinse the carafe and filter basket with hot water
- Leave the reservoir lid open to air-dry between uses
Weekly (5 minutes):
- Wash removable parts with dish soap
- Wipe down the exterior and warming plate
Monthly (20 minutes):
- Run a citric acid solution (1 tablespoon per cup of water) through the machine for a gentler alternative to vinegar
- Check the showerhead (where water dispenses) for clogs—use a toothpick to clear holes
Every 3-6 months:
- Full descaling with vinegar or commercial descaler
- Replace water filters if your machine has them
Pro tip: If you have hard water (over 7 grains per gallon), double the descaling frequency. You can test your water with inexpensive strips from hardware stores.
Natural Alternatives to Vinegar
While vinegar is the gold standard for descaling, its smell can linger. If you’re sensitive to odors or have a machine with aluminum components (which vinegar can pit over time), try these alternatives:
Citric acid: Mix 1-2 tablespoons of food-grade citric acid powder with 32 ounces of water. It’s odorless, highly effective against limescale, and gentler on rubber seals. This is what most commercial descalers use as their active ingredient.
Lemon juice: In a pinch, the citric acid in lemon juice works, though you’ll need about ½ cup per reservoir. Strain out pulp first to avoid clogs.
Baking soda: Use this for scrubbing the carafe and basket only—never run it through the machine, as it can clog internal tubes and is difficult to rinse completely.
Conclusion
Knowing how to clean coffee maker equipment properly transforms your morning routine from a gamble into a guarantee of great taste. By descaling every 3-6 months, washing removable parts weekly, and staying on top of daily rinses, you’ll extend your machine’s lifespan by years while ensuring every cup tastes exactly as the roaster intended.
Your coffee maker works hard for you—return the favor with 30 minutes of maintenance this weekend. Your taste buds (and your wallet, since you’ll stop replacing machines every two years) will thank you. Ready to tackle the rest of your kitchen? Check out our guide on how to clean dishwasher filters for another appliance that secretly affects your water quality.